

Rigid Air Barrier
The panels are tight. The places they meet something else are not.
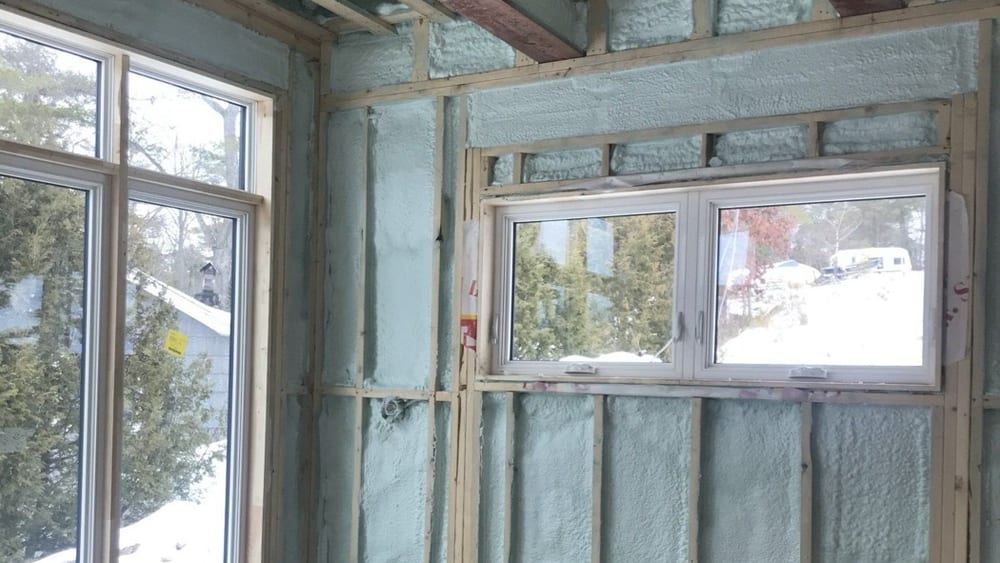
A rigid air barrier is sheathing with every joint sealed, and under the Ontario Building Code it is a legitimate way to build the continuous air barrier system Article 9.25.3.1 requires. The panels are rarely the problem. The leaks are at the transitions: sill to foundation, the floor header, every rough opening, and the top plate where the wall air barrier has to meet the ceiling’s.
That is the part a wall section on the drawings shows as one tidy line and the site builds as five different trades’ work. Taping the sheathing seams is the easy hour. Making the sheathing continuous with the foundation, the window frames and the ceiling is where it passes or fails, and it is where the insulation crew either closes the gap or inherits it.
What the code asks of the sheathing
Three sentences in Section 9.25.3 do the work, and the City of Markham’s Builder Tip No. 21, updated to the 2024 OBC, quotes them:
- 9.25.3.1(1): assemblies separating conditioned space from unconditioned space or the ground must include an air barrier system that provides a continuous barrier to air leakage. Sentence (2) extends that continuity throughout the basement.
- 9.25.3.2(1): a sheet or panel material providing the principal resistance to air leakage has an air leakage characteristic of no more than 0.02 L/(s·m²) at 75 Pa.
- 9.25.3.3(1): where the air barrier is an air-impermeable panel-type material, all joints are sealed.
Read together, the code is not approving a product. It is approving an assembly: a panel that meets the material number, with every joint and every edge connected to the next part of the system.
Not every OSB panel clears the material number on its own
Plywood and OSB are routinely treated as air barrier materials, and most will meet 0.02. Not all of them. In 2021 testing by RDH Building Science, the bare OSB samples tested did not meet 0.02 L/(s·m²) at 75 Pa, and plywood met it dry but not after wetting and drying cycles. With a continuous housewrap over them, both subassemblies did meet it. It was a small sample of products and RDH said so, but the practical answer is the same either way: ask for the panel manufacturer’s tested air leakage figure, or keep the housewrap continuous and treat the taped panel as the backup rather than the whole system.
Where a sheathing air barrier actually leaks
Sill, foundation and the floor header
Builder Tip No. 21 names the junction of the foundation and the floor header assembly as a major source of air leakage. Sentence 9.25.3.3(5.1) says a header wrap used as an air barrier has to be sealed or lapped to the wall air barrier above and below, and the tip calls for acoustical sealant or an approved sheathing tape at every seam, and singles out the corners of the header, where the material has to stay continuous.
With sheathing as the air barrier, the same logic applies to the horizontal joint at each floor line and the bottom edge at the sill. The sheathing has to connect to whatever the basement uses as its air barrier, because 9.25.3.1(2) does not stop at the first floor.
From inside, the rim is also where we come in. We routinely foam the rim joists and batt the rest, because 2 lb foam seals the sill-to-rim and rim-to-subfloor seams as it expands, in bays that are all different shapes. That is a backstop to a sealed header, not a substitute for designing one. The rim joist post goes through the bay itself.
Windows and doors
Builder Tip No. 6 puts the main leak at a window or door where everyone expects it: the gap between the rough opening and the unit. Sentence 9.25.3.3(6.2) says that where an exterior air barrier is penetrated by a door or window, it is sealed to the frame with compatible flexible flashing, caulking, or spray foam insulation.
On a rigid air barrier wall, that sentence decides who owns the seal. If the flashing tape outside is lapped onto the frame, the exterior side is done. If it stops at the sheathing edge, the joint between sheathing and frame is still open from the inside, and spray foam in the rough opening is one of the three ways the code accepts to close it. We seal rough openings where framing meets frame. Settle which trade is doing it before the drywall schedule does.
The top plate, where the wall barrier meets the ceiling
This is the transition nobody draws. The walls have their air barrier on the outside, in the sheathing. The ceiling almost always has its air barrier on the inside, in the poly or the drywall. For 9.25.3.1(1) to be satisfied, those two have to connect, and the only thing between them is a pair of top plates.
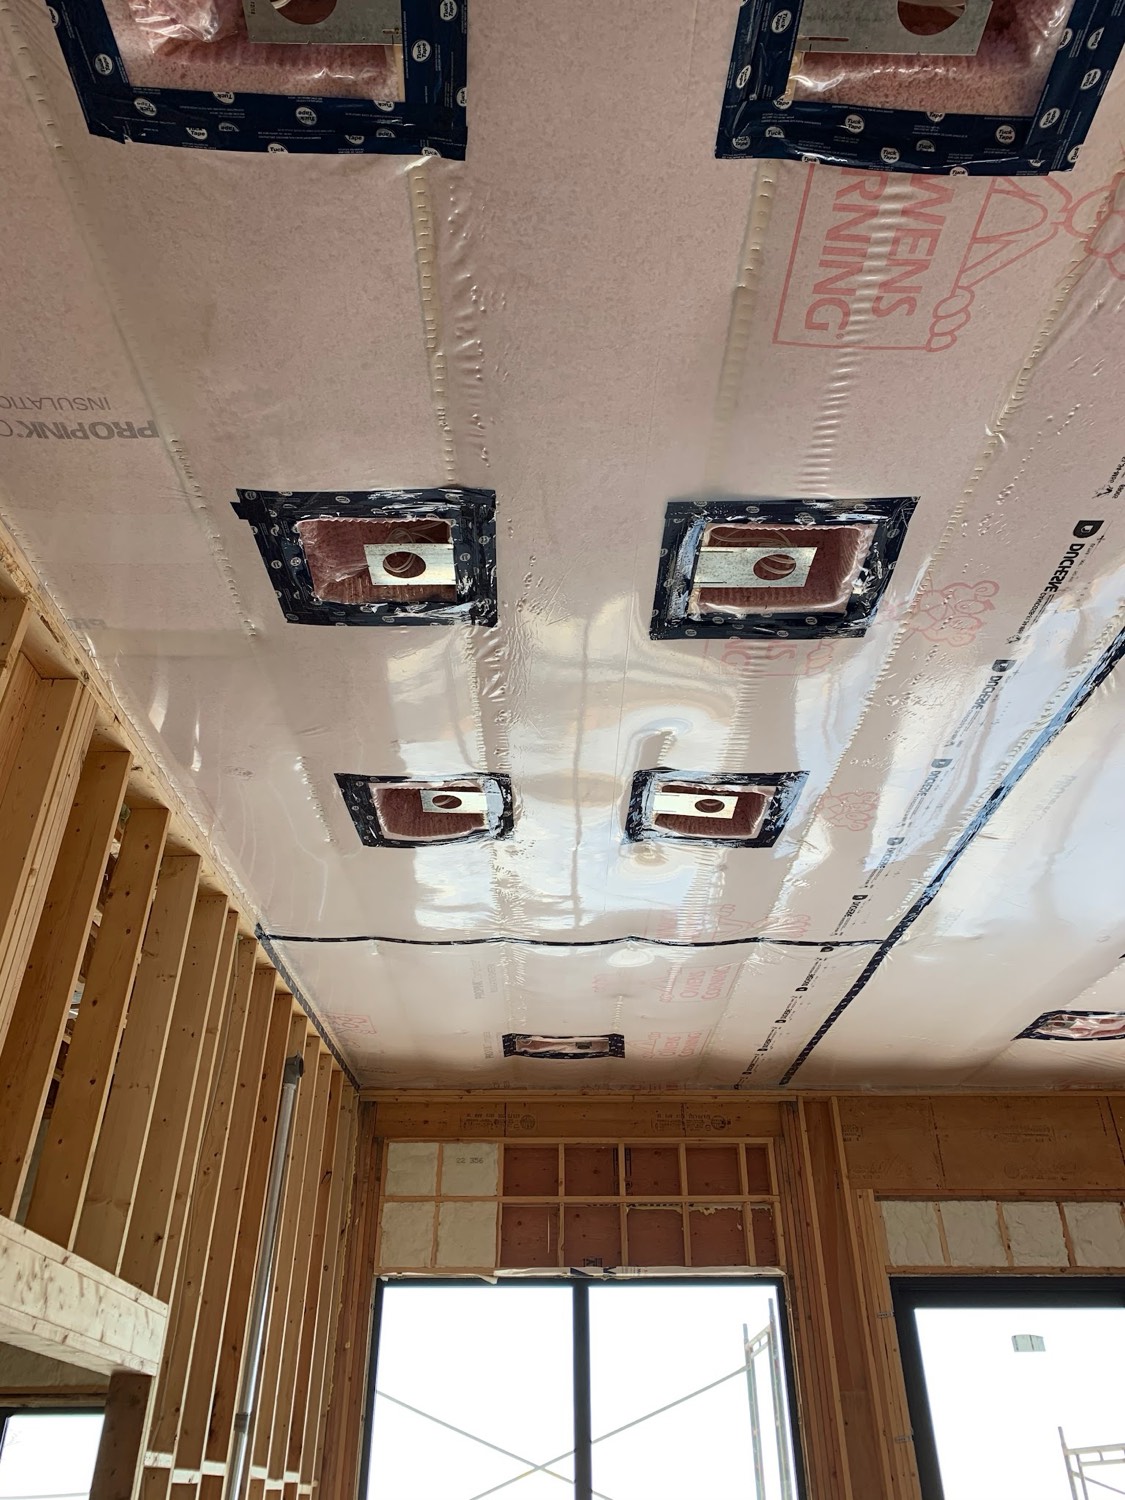
The path air takes is from the room, up past the edge of the ceiling air barrier, between or around the top plates, and out at the sheathing or straight into the attic. Sealing the sheathing to the top plate, the top plates to each other, and the ceiling air barrier down onto the top plate closes it. Each of those is a different trade on a typical job. If it is not on the drawings as a detail, it is usually nobody’s.
Everything that goes through the sheathing
Dryer and bath fan terminations, hose bibs, exterior receptacles, the gas line, the refrigerant line set. Sentence 9.25.3.3(6) requires penetrations from wiring, boxes, piping and ductwork to be sealed with compatible material such as tape or caulking. Sentence (8) adds that the clearance around a chimney or gas vent is sealed with noncombustible material, taped to the air barrier, and sealed to the vent with high-temperature caulking. On a sheathing air barrier, most of those seals are made from the outside, by whoever made the hole.
The poly still goes on
Moving the air barrier to the sheathing changes which layer is doing the air control. It does not touch the vapour barrier. Article 9.25.4.3(1) still requires the vapour barrier on the warm side of the wall, ceiling and floor assemblies, and outboard sheathing is not on the warm side.
So the interior poly stays, or a full-depth layer of 2 lb closed cell foam does that job instead. Builder Tip No. 34 puts the minimum for medium-density foam acting as the vapour barrier in a wall at 50 mm, and anything thinner still needs the poly. More on that in the closed cell post.
The inspection timing is what changes. Markham’s air barrier inspection sheet says the inspection is requested before interior finishes when the air barrier is on the inside, and before the cladding goes on when it is entirely on the exterior. A sheathing air barrier gets looked at before the siding crew, not before the drywall crew. Confirm the stage with your own building department, and book it accordingly.
What has to be ready before the crew arrives
- Sheathing seams taped and the exterior penetrations sealed. We see the back of the sheathing in every bay before it is filled. Anything left open there is easy to point out and impossible to fix from inside once the bays are full.
- Windows and doors in. Then the rough-opening seal can be done in the same visit, and the decision about flashing tape versus foam has already been made.
- The top plate detail decided. Sealant between sheathing and plate before the ceiling goes on, and the ceiling air barrier run down onto the plate. If the ceiling is going to be strapped, it is far easier before.
- Rough-ins finished. Electrical, plumbing and ductwork through the exterior walls done, so what we seal is what stays.
- The air barrier inspection booked at the right stage, which on a sheathing air barrier may be before cladding, not before drywall.
When we leave, the work is ready for the building inspector and the next trade.
Where the cheaper product is fine
Here is the useful part of a sealed sheathing air barrier for the insulation budget: once the sheathing is doing the air control, the cavity does not have to. Well-installed batts in clean, standard framing that has been properly air sealed hit code, cost far less, and are a completely legitimate choice. So is BIBS, which packs a 2x6 cavity to R-24 and a 2x4 to R-14 and flows around boxes and wiring instead of being cut around them.
Foam earns its place at the edges: the rim, the header spaces, the rough openings, anywhere the air barrier has to cross a joint that tape cannot reach. Paying for foam in every bay of a wall whose sheathing is already the air barrier is paying twice for the same layer. Here is how the three compare.
Where we fit
We are CAN/ULC-S705.2 certified applicators and a CUFCA member, and we install spray foam, BIBS, batt and removal. That is why the quote can be foam at the rim and the rough openings and something cheaper in the bays. Bring us in at drawings, before the top plate detail becomes a field decision.
Building with sheathing as the air barrier and want the transitions settled before the crew shows up? Call (705) 812-1955 or request a free quote.