

Vapour Barrier Electrical Box
Every outlet on an exterior wall is a hole in the air barrier. The pan goes in with the box, and the poly gets sealed to it, or the wall leaks there all winter.
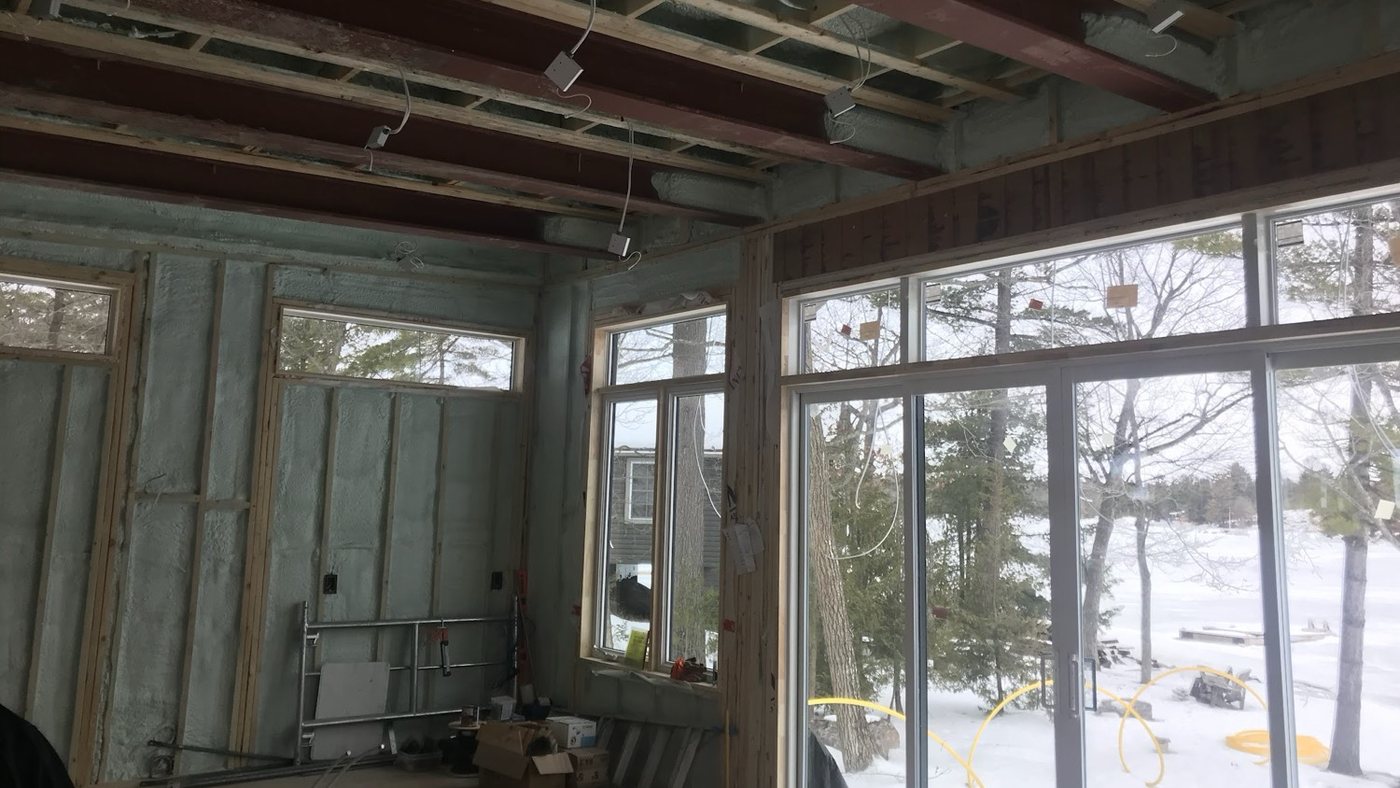
The Ontario Building Code names electrical boxes by name. Sentence 9.25.3.3.(6) says penetrations of the air barrier, “such as those created by the installation of electrical wiring, electrical boxes, piping or ductwork,” get sealed with a compatible material so the barrier holds over the entire surface. A box on an exterior wall with the poly slit in an X and pushed round it doesn’t meet that. A vapour barrier electrical box, sealed to the poly, does.
The trouble is never the part. A moulded pan costs little and takes seconds to set. It gets missed because it falls between two trades: the electrician sets the box at rough-in, and the poly goes up later, with a different crew. If neither scope names the pan, nobody puts it there.
What the code asks at a box
Three pieces of OBC 9.25.3 meet at every outlet and switch on an exterior wall. The City of Markham’s builder tips quote them (No. 9, updated to the 2024 OBC, and No. 21, written to the 2012 edition, so check sentence numbers against the code you’re permitting under):
- 9.25.3.1.(1). Walls, ceilings and floors that separate conditioned space from unconditioned space or the ground need an air barrier system that’s continuous enough to stop condensation inside those spaces in the heating season.
- 9.25.3.2.(2). Where polyethylene provides the air-tightness, it conforms to CAN/CGSB-51.34-M.
- 9.25.3.3.(6). Penetrations from wiring and electrical boxes are sealed with tape or caulking, so the barrier stays whole over the entire surface.
In a typical poly-and-batt wall, the poly is both the air barrier and the vapour barrier. So the box is a hole in both. Warm, humid air leaves the room through the cover plate, passes through the box’s openings into the cavity, and meets the cold sheathing. Multiply that by every receptacle on every outside wall, and the top-floor ceiling boxes too.
Code doesn’t specify a product. It asks for continuity at the box and leaves the method to you. In practice there are two ways to get a sealed vapour barrier electrical box: put a pan behind a standard box, or use a box that seals itself.
Pan or airtight box
| What it is | Where it goes wrong | |
|---|---|---|
| Moulded pan (poly hat, box boot) | A factory-moulded polyethylene shell that goes behind a standard device box, with a flat flange the poly is sealed to. | Cable entries left open. A pan set crooked so the flange sits proud of the stud. Pans skipped on the boxes added late. |
| Airtight box | A device box with the flange and gaskets built in, so the box itself is the seal. | Sealing details differ by maker. Read the sheet for that box rather than assuming it’s the same as the last one. |
The National Master Specification’s sheet vapour barrier section, used in Canadian public tenders (City of Winnipeg bid 584-2013 is one), sets out the pan method in two lines. Install a moulded box vapour barrier, or wrap the box in film with at least a 300 mm lap flange around it. Then seal the flange edges to the main vapour barrier, and seal the wiring penetrations through the box cover.
That second line is the one that gets skipped. A pan with the poly perfectly taped to its flange still leaks if the cable hole in the back of it is open. That’s a 9.25.3.3.(6) penetration too.
The order it goes in
- At rough-in, the pan goes on with the box. This is the step that makes it a vapour barrier electrical box rather than a hole. Cable through the pan’s entry, box into the pan, box fastened to the stud with the flange flat against the framing face.
- The cable entry is sealed. Acoustical sealant or the pan’s own grommet, depending on the product. Keep sealant out of the box. The inside belongs to the electrician.
- The poly goes up and is cut at each box. Cut it to the box opening, not oversize, and lap it onto the flange.
- The poly is sealed to the flange. A continuous bead of acoustical sealant under the poly, or compatible tape over the edge. For sheet joints, Markham’s Builder Tip 21 quotes the rule as sealed, or lapped at least 100 mm and clamped over framing.
The same spec opens its execution section with a line worth writing into your schedule: services installed and inspected before the vapour barrier goes on. That’s the whole sequencing argument in one sentence. A box added after the poly is a box with no pan, and the fix is a patch around a hole that should have been a seal.
What has to be ready before the insulation crew arrives
Walk the exterior walls and the top-floor ceiling before the poly is booked. Every box should be:
- In a pan or a vapour barrier electrical box with its own gasket, on every exterior wall and insulated ceiling, including the ones in the garage wall shared with the house and the one behind the fridge.
- Final. Box positions set, nothing added after insulation, no “we’ll put one more in the kitchen later.”
- Flush. Flange tight to the stud face. A flange floating 6 mm off the framing won’t take a clean seal.
- Sealed at the cable. Every entry, every box.
Then the poly crew’s job is what it should be: run the sheet, seal the laps, seal to every flange. A house with 60 boxes on outside walls has 60 extra seals, so allow for that time.
The cheaper answers
A pan is cheap, but 60 of them sealed by hand isn’t free, and the cheapest fixes don’t need one at all.
Move the box off the exterior wall. A receptacle on an interior partition doesn’t touch the air barrier. Where the plan allows, put the switch bank on the partition side of the door and keep long exterior walls clear. Each box you move is a vapour barrier electrical box nobody has to buy or seal.
Strap the wall inside the poly. Run the poly over the studs, strap over it, and set boxes and wiring in the strapping depth. The barrier stays whole and the boxes never cross it. It costs a bit of room depth and some strapping, and it’s worth it on a wall with a lot of devices. Check the box depth against the strapping before you commit.
Don’t foam a wall just to get out of pans. Closed-cell spray foam at normal thickness is the air barrier and the vapour retarder itself, and it expands into the gaps around wiring that batts bridge over. In a wall that needs foam for other reasons, that takes care of the cavity side of the box. As a way to avoid pans, it’s the most expensive answer on this page.
Retrofits and renovations
Opening up an older exterior wall usually means finding boxes with no pan and the poly torn around them. If the wall is open to the studs, it’s a new-build detail: pans on, poly up, sealed. If only the drywall around the box is off, seal what you can reach, the cable entry and the box-to-board gap, and accept that it’s a repair rather than a continuous barrier. For the other big leak in an older house, see rim joist air leaks.
Where we fit
On new work, the vapour barrier is part of how we install batt insulation: the vapour barrier is detailed and sealed as required, before anything gets covered up, and the job is left ready for the building inspector and the drywall crew. Where foam makes sense, closed-cell spray foam is applied by certified applicators under CAN/ULC-S705.2. Most of our quotes are a combination, and if a cheaper product will do the same job, we’ll tell you. For the ceiling version of this detail, see pot light vapour barrier. For the sheathing side of the wall, see rigid air barrier.
Got a house at rough-in and want the poly sealed at every box before inspection? Call (705) 812-1955 or request a free quote.