

Pot Light Vapour Barrier
The fixture label doesn’t seal the ceiling. The surround and the tape do, and only if they go in before the poly.
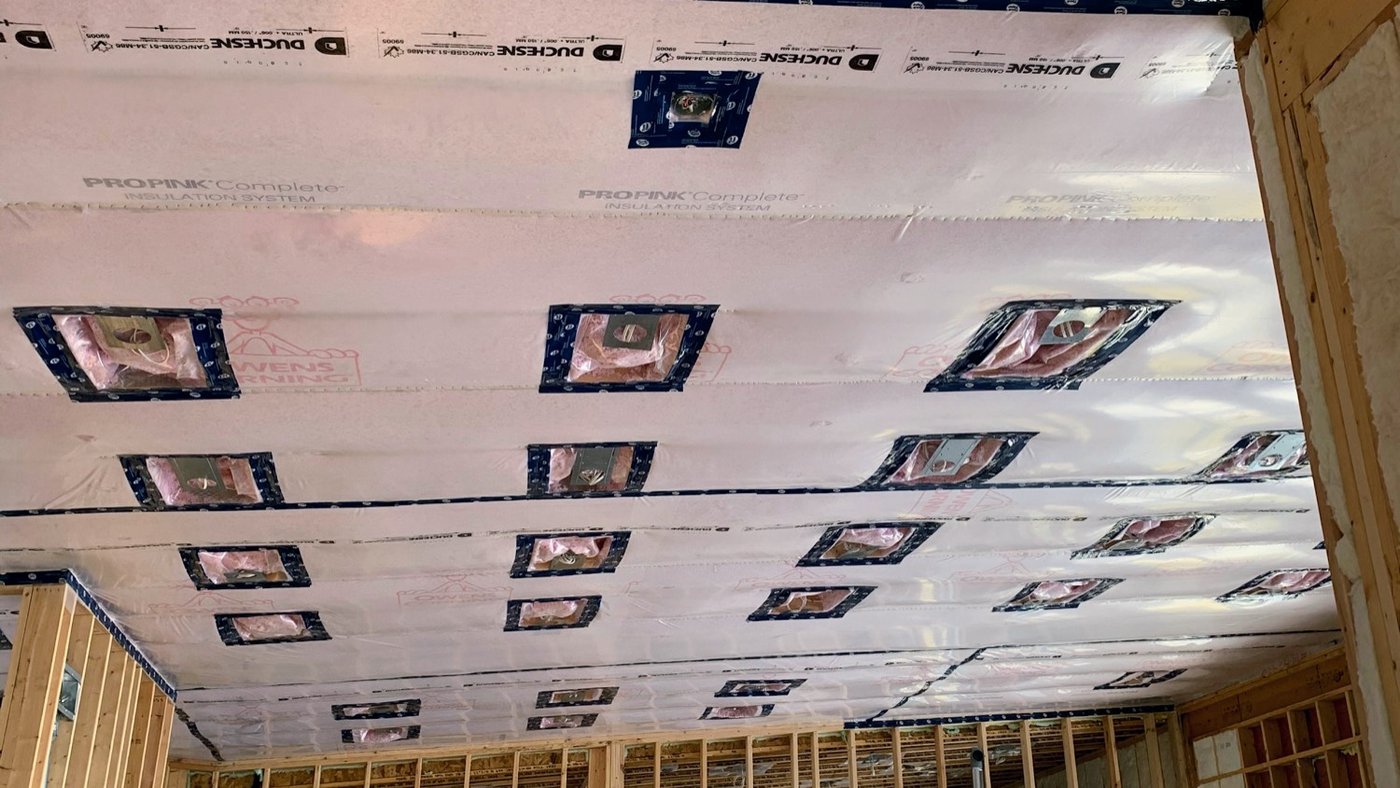
Every pot light in a top-floor ceiling is a hole cut through the air barrier, and the Ontario Building Code doesn’t care what the fixture box says. Sentence 9.25.3.3.(6) wants every penetration sealed with a compatible material so the barrier holds “over the entire surface.” An IC-rated, airtight-labelled housing doesn’t do that on its own. The pot light vapour barrier detail that does is a rigid surround, fastened in at rough-in and sealed to the ceiling poly.
It’s a small part that gets missed for one reason: it belongs to the gap between two trades. The electrician sets the fixture. The insulation crew runs the poly. If nobody owns the surround, it either isn’t there or it’s there and never taped.
What the code actually asks for at the ceiling
The clauses are short. The City of Markham’s Builder Tip No. 9 (January 1, 2025, updated to the 2024 OBC) quotes the ones that apply:
- 9.25.3.2.(1). Sheet and panel materials providing the principal resistance to air leakage can leak no more than 0.02 L/(s·m²) at a 75 Pa pressure difference.
- 9.25.3.2.(2). Where polyethylene provides the air-tightness, it has to conform to CAN/CGSB-51.34-M.
- 9.25.3.3.(6). Penetrations from wiring, electrical boxes, piping or ductwork are sealed with compatible material such as tape or caulking.
The tip names the risk plainly: air leaking into an attic or the space above an insulated ceiling can cause serious condensation problems. A pot light is warm, it sits right in the insulation, and the house pushes moist air up through any gap around it all winter. The poly can be perfect across the rest of the ceiling and still fail at forty round holes.
Note what the code doesn’t say. It doesn’t name a product, and it doesn’t accept a fixture rating in place of a sealed barrier. It asks for continuity. How you get it is up to you.
IC, airtight, and what the label leaves out
Two ratings get confused on site, and they answer different questions.
| What it tells you | What it doesn’t | |
|---|---|---|
| Type IC | The luminaire may be in contact with insulation and combustibles (Canadian Electrical Code Rule 30-906). Many carry a thermal protector that shuts the lamp off if it overheats. | Anything about air leakage. |
| Non-IC | It needs clearance. Under CEC Rule 30-902, insulation stays at least 76 mm from the luminaire unless it’s marked with its own spacings. | How you’d hold 76 mm in a ceiling getting blown loose-fill. In practice you can’t. |
| Airtight (AT) | The housing was tested to ASTM E283. U.S. energy codes cap it at 2.0 cfm at 75 Pa. | The installed ceiling. E283 measures the housing in a lab, not the cut in the drywall around it. |
Two practical points come out of that table.
First, a Non-IC fixture doesn’t belong in an insulated top-floor ceiling. Catch it at the fixture order, not after the insulation is in. Swapping a housing is the electrician’s job, and an expensive one once there’s drywall.
Second, “airtight” on a box isn’t proof. UL has noted that a safety mark plus a separate “air tight” marking doesn’t mean UL certified the E283 result. Even a properly tested housing still leaks at the ceiling unless the trim is gasketed or caulked to the board. That’s why the code question is about the barrier, not the fixture.
The surround, and the order it goes in
The detail in Markham’s tip is the one most builders already know as a poly hat or pot light cover. It’s a rigid polyethylene surround with a flat flange. The sequence:
- The fixture goes in the surround. A pot light approved for insulated ceilings is set inside the air/vapour barrier surround.
- The fixture is fastened to the framing. The surround is held between the joists, flange down, flush with the underside of the framing.
- The wire is sealed where it enters the surround. That’s a penetration of the barrier too, and it gets the same caulk or tape.
- The ceiling poly is sealed to the flange. Cut the poly at the surround, lap it onto the flange, and seal it with caulking or compatible tape.
One more line from the tip matters more than it looks: the melting point of the surround has to be compatible with the fixture. A thin bag or offcut of builder’s poly over a hot housing isn’t that. Use a surround made for the job and check its temperature rating against the fixture’s sheet.
The order is the whole trick. Steps one to three happen at electrical rough-in. Step four happens when the ceiling poly goes up, before drywall. If the surround isn’t there when the poly crew arrives, the poly gets slit around a bare housing and taped to the can. That holds about as well as you’d guess.
Who owns it, and what has to be ready
Put the surround in the electrical scope, in writing, and walk the top-floor ceiling before the poly goes up. By the time the insulation crew arrives, every pot light vapour barrier surround should be:
- In place on every fixture in an insulated ceiling, not just the ones that were easy to reach.
- Fastened to framing, flange flush, not floating on the wire.
- Sealed at the wire entry.
- Paired with an IC housing. If you find a Non-IC can, stop there and call the electrician.
Then the poly crew’s job is the one it should be: run the sheet, seal laps, seal to every flange and box. A ceiling with 30 pot lights has 30 extra seals to make, so allow for that time in the schedule.
The cheaper answers
The surround is the code detail, but it isn’t the only way to stay out of trouble, and the cheapest options don’t involve a surround at all.
Put fewer pot lights in the top-floor ceiling. Recessed lights in a ceiling between two heated floors don’t cross an air barrier, so none of this applies there. Housings still have to suit whatever insulation is in that floor, so if you’re filling it for sound, IC is still the rule. A lighting plan that keeps the pot lights downstairs and puts surface fixtures under the attic removes the problem rather than detailing it.
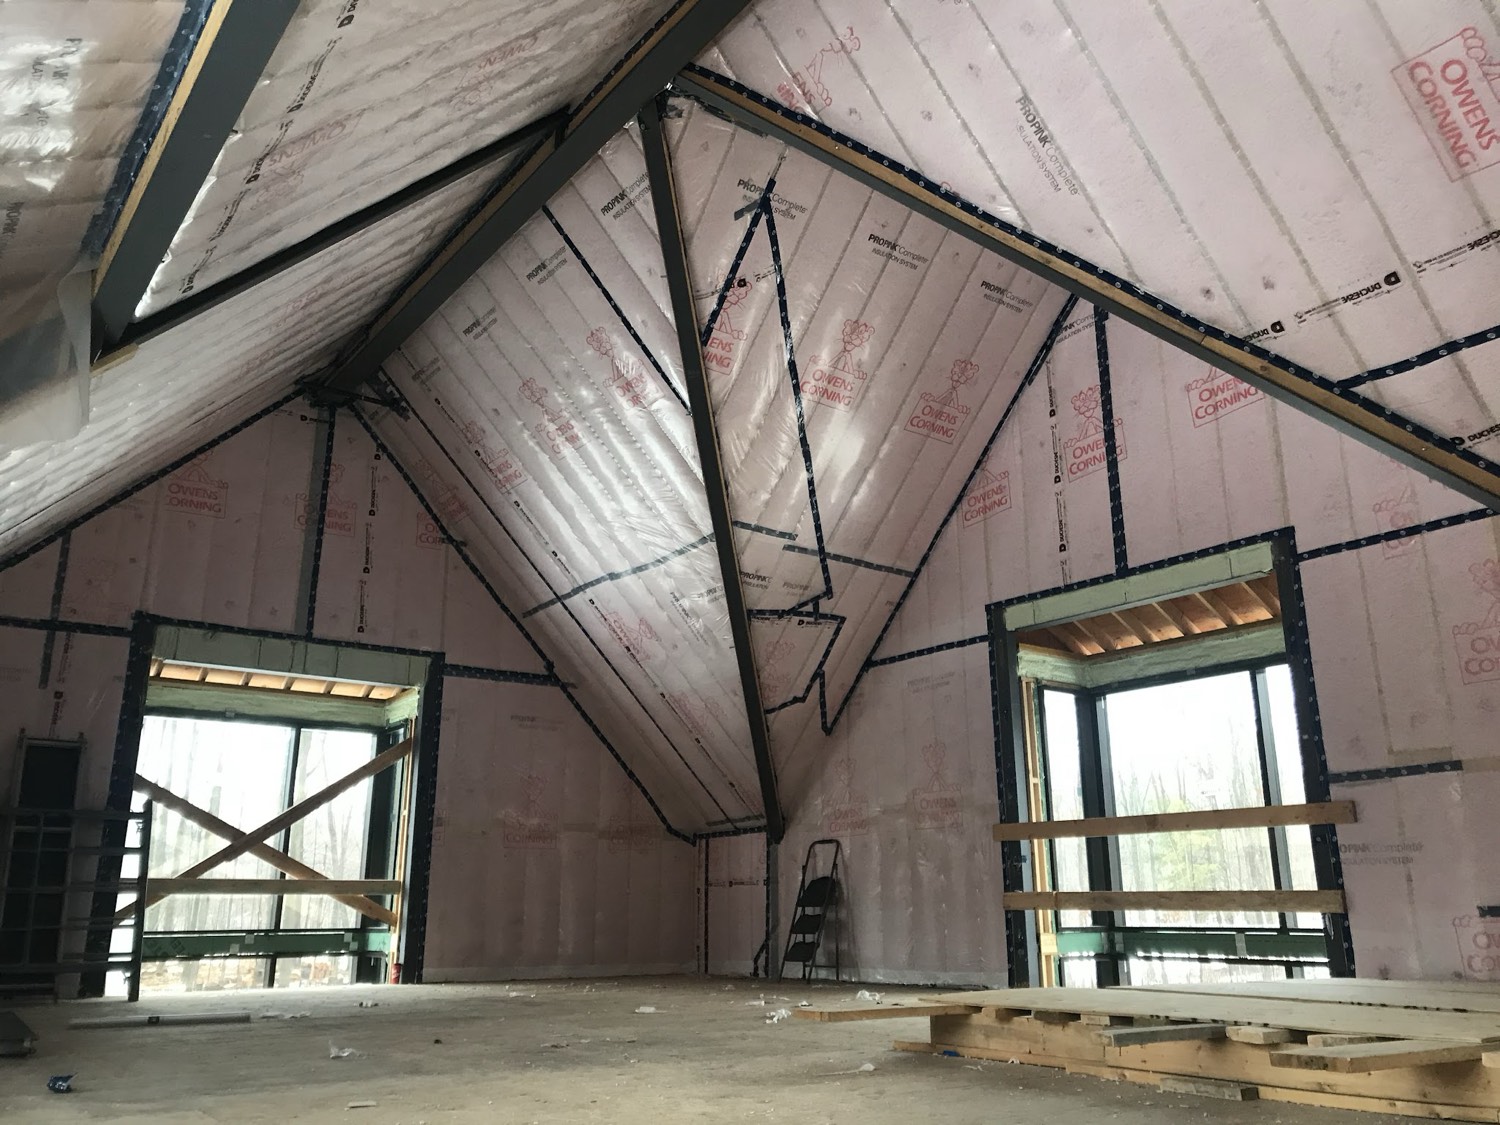
Keep the lights below the barrier. Strap the ceiling under the poly and the fixtures and their boxes can live in the strapping depth, so the poly stays unbroken. This works when the fixture and box fit the cavity, so check the fixture sheet before you commit the framing.
Neither one costs much. Both save 30 seals, and 30 places for a seal to fail.
Retrofits: the pot lights are already there
An existing top-floor ceiling with pot lights and a thin attic is a different job. The lights are already through the barrier, often without a surround, and the leakage shows up from the attic side as frost on the nails or meltwater at the eaves. That’s the ice-dam mechanism; see what attic ice damming means.
The order of work is the same as any attic: seal the attic floor and its bypasses before topping up. Pot lights are among those bypasses. Burying a leaking housing under more loose-fill hides the leak and keeps it going. If any of the fixtures are Non-IC, that’s the electrician’s decision before it’s ours. For deciding whether the existing fill stays or goes, see attic top-up or removal.
Where we fit
On new work, sealing the vapour barrier is part of how we install batts: eave baffles go in, and the vapour barrier is detailed and sealed as required, so the ceiling is left ready for the building inspector and the drywall crew. On attics we install blown-in top-ups, and closed-cell spray foam where the attic floor and its bypasses need sealing before the top-up goes on. Most of our quotes are a combination, and if a cheaper product does the same job, we’ll tell you. For the code side of the whole ceiling, see the Ontario Building Code on insulation.
Got a top-floor ceiling full of pot lights and want the poly sealed before inspection? Call (705) 812-1955 or request a free quote.