

Attic Hatch Insulation
The rest of the attic has a foot of insulation. The hatch has a sheet of drywall.
Attic hatch insulation is the cheapest fix in most attics, and the one most often missing. The rest of the ceiling might carry a foot of insulation. The hatch is usually a loose square of drywall or plywood resting on a strip of trim, with nothing on top and nothing sealing the edges.
It is a small opening, so it is easy to dismiss. It shouldn't be. Here is why it matters more than its size, how to fix it properly, and when the hatch is only the first thing wrong up there.
Why a small hatch leaks more than its size suggests
Heat leaves a house two ways. It moves slowly through insulation, and it rides out with air through gaps. The second is the one that costs most. Warm air rises, and in winter it pushes up against the ceiling looking for a way out. A hatch that just sits on its trim is a ready-made gap, right at the top of the house.
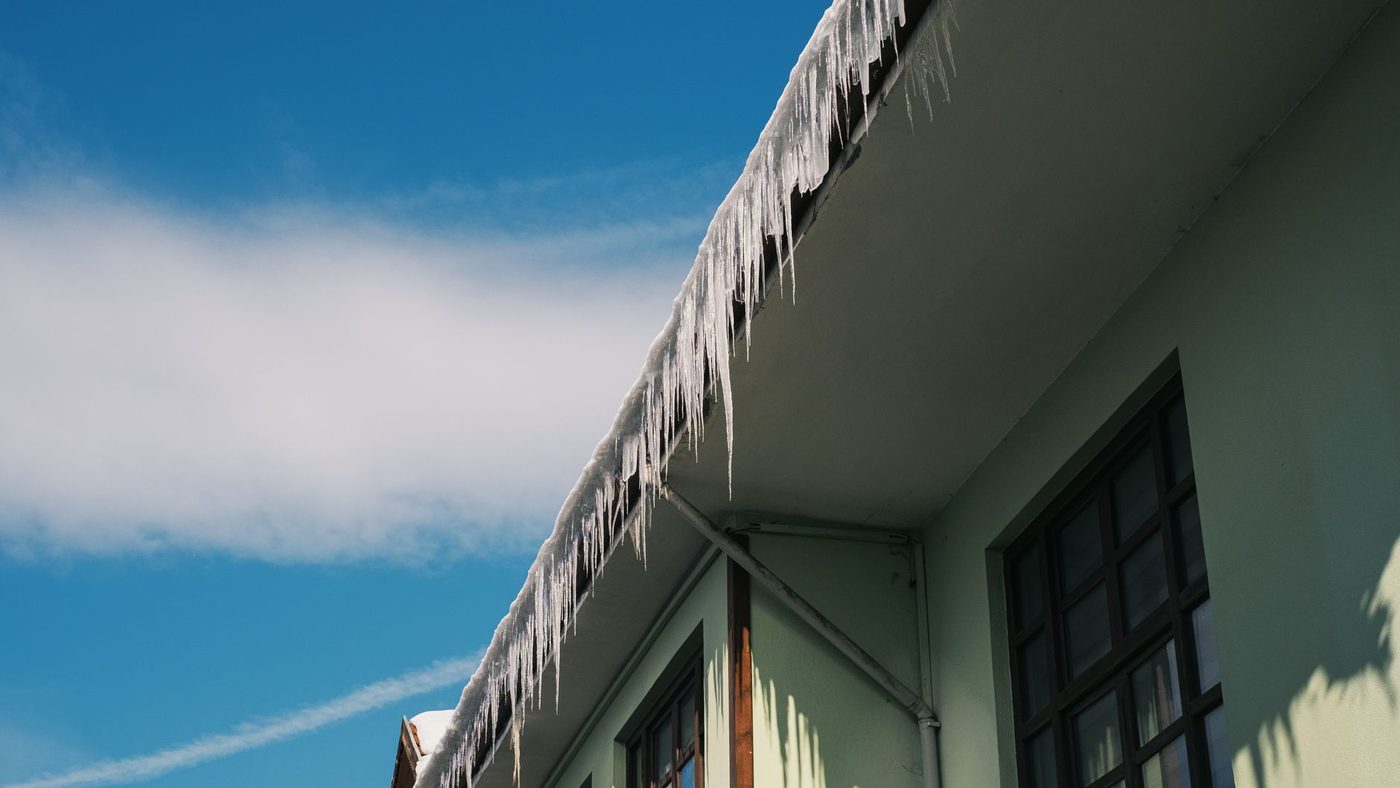
That air carries moisture with it. When warm, humid indoor air escapes into a cold attic, it loses you heat on the way out and drops its moisture when it hits a cold surface. That is how you get frost on the underside of the roof sheathing, damp insulation and ice damming at the eaves. A leaky hatch is rarely the only source, but it is often the easiest one to find.
Then there is the lid itself. A piece of 1/2-inch drywall has almost no insulating value. With R-50 or more around it and next to nothing over the opening, the hatch is a cold patch in the ceiling you can sometimes feel from the hallway.
Signs your attic hatch insulation is missing or failing
You don't need to go up there to suspect it. Look for:
- A draft or cold spot at the ceiling under the hatch, usually in a hallway or closet.
- Grey dust lines around the trim. Air moving through a gap leaves dirt behind, the same way it does around a leaky baseboard.
- A stain, frost or water marks on the lid, from moisture condensing on the cold board.
- A lid that lifts or rattles when an exterior door closes or the wind picks up.
- Loose insulation spilling onto you every time you open it, which means nothing is holding the attic insulation back from the opening.
Any one of those means the hatch is leaking air. Two or more usually means it was never treated at all.
Attic hatch insulation, done properly: four parts
ENERGY STAR puts it simply: treat the attic hatch like a door to the outside, because that is what it is. The U.S. Department of Energy's weatherization job aid for attic hatches breaks it into a sequence that works for most Ontario houses too.
- Dam it. A rigid box of plywood or lumber, fastened around the opening on the attic side. It holds the surrounding insulation back so it doesn't fall through when the lid is lifted. The DOE guidance says the dam should stand at least 2 inches taller than the final insulation depth.
- Seal the edges. Weatherstripping or closed-cell foam tape where the lid sits on its stops, so the lid compresses it when closed. If the lid sits on thin trim with nowhere to put weatherstrip, add wood stops around the opening first.
- Insulate the lid. Cut rigid foam board to the size of the lid and glue layers on the attic side to build up R-value, getting as close to the level of the surrounding attic as the lid can carry. Use foam that meets the fire-protection requirements for where it is installed.
- Make it close tight. A latch, or simply enough weight that the lid seats firmly on the weatherstrip. Caulk the trim to the ceiling while you are there, because the joint between trim and drywall leaks too.
If the existing lid is warped or cracked, it is often easier to cut a new one from plywood or drywall than to rescue it.
Attic hatch insulation for a pull-down stair
Folding attic stairs are harder, because the stair takes up the space the foam would go. The usual answer is the same idea in a different shape: weatherstrip where the stair frame closes, and fit an insulated cover or box over the stair on the attic side. Ready-made covers exist for the common sizes. Either way, the goal is the same as a flat hatch: no air through it, and insulation over it.
This is often a job you can do yourself
We will say this plainly, because it is true: a flat attic hatch is a reasonable afternoon project for a handy homeowner. The materials are rigid foam board, adhesive, weatherstrip and a few pieces of lumber. You don't need a contractor to fix a hatch, and you shouldn't pay one to do only that.
Two cautions before you start. First, if the insulation you see when you lift the lid is loose, pebbly and greyish-brown, it may be vermiculite. Vermiculite from certain historic sources can contain asbestos, and it has to be tested before it is disturbed. Don't touch it, and don't build a dam in it. Second, if what you see up there is wet, stained, flattened or full of droppings, the hatch is the least of it.
When the hatch isn't really the problem
A sealed, insulated hatch fixes one leak. Most older attics have several more. Gaps at the top plates, holes around wiring and plumbing, chimney chases and light fixtures all let warm air through the attic floor, and together these attic bypasses usually add up to more than the hatch.
That is why insulation depth on its own often disappoints. Piling more material on an unsealed attic floor is like putting a thicker sweater on with the zipper down. Air sealing first, then depth, is the order that produces results.
For the depth, the cheaper product is usually the right one. On a large, open attic floor, blown-in insulation gives most of the real-world gain for a lot less than foam, and it brings an under-insulated attic up to a current, even depth. Spray foam earns its price at the bypasses and in the awkward spots: we seal the attic floor and its bypasses with Polarfoam 7300-0 SOYA, a closed-cell foam, before topping up, or spray the roof deck to bring the attic inside the building envelope.
And if the existing insulation is wet, contaminated or flattened, adding more on top just buries the problem. That is the point where it comes out first, by vacuum removal, so the leaks, blocked soffits and entry points underneath can be found and fixed. The top-up or removal question is worth reading if you are not sure which side of that line your attic is on.
One practical link back to the hatch. If you top up the attic, the dam has to rise with it. Your attic hatch insulation work should be planned around the final depth, not today's.
Older houses around Elmvale
Elmvale and the rest of Springwater are part of what we cover across Simcoe County, and a lot of the houses across the county share the same story: older homes, attics that have never been touched since the roof went on, and a long way from the nearest gas line. When you heat with propane, oil, electric or wood, every dollar of heat loss costs more than it does on natural gas. That is the single most common reason rural customers call us.
Older rural homes also tend to have the biggest, easiest wins available, and the attic is usually one of them. A hatch that leaks, an attic floor full of bypasses and insulation settled to half its original depth add up quickly when every litre of propane costs what it does. Snow sitting on the roof through a Springwater winter makes the warm-air leaks easy to spot from the road, too: look for the icicles.
Where we fit
Fix the hatch yourself. If the attic behind it needs more than that, that is our work. We do spray foam, blown-in BIBS, batt and insulation removal under one roof, so an attic gets the right product in each area rather than the most expensive one everywhere.
We get into the attic to see what is actually there, measure what is up there, and you get a written, itemized quote with the reasoning behind each recommendation. If a cheaper product will do the same job in your house, we will tell you. We would rather look at your house than quote you a number from a brochure.
Cold hallway under the hatch, or icicles along the eaves? Call (705) 812-1955 or request a free quote.