

Below Slab Insulation
Once it’s poured, it’s final.
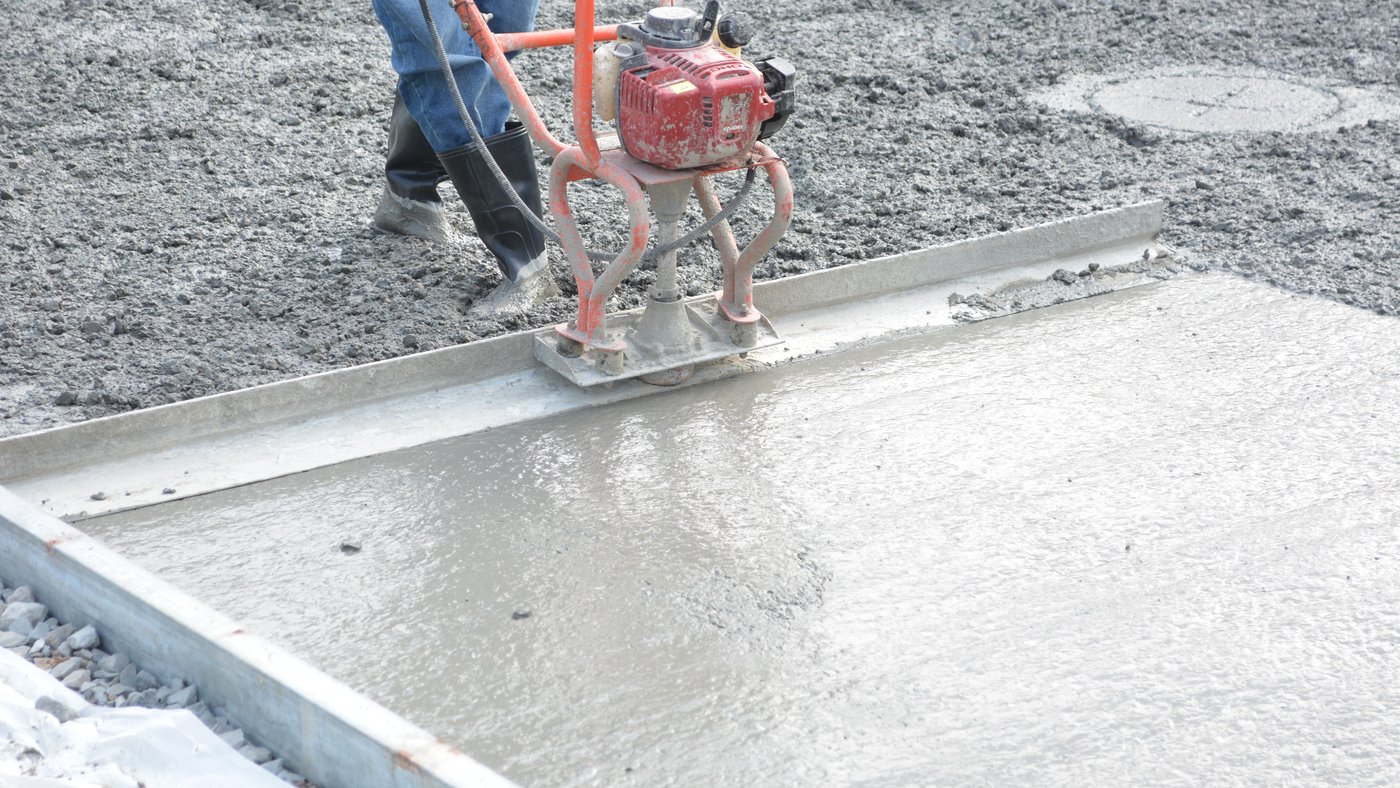
Below slab insulation is the one layer in a house nobody can fix later. Every other mistake in the envelope can be opened up, cut out or topped up, but once the concrete goes over the floor, whatever is under it is what the building lives with.
That makes it a scheduling problem more than an insulation problem. The questions that decide whether the floor is warm, whether the radiant system heats the room or the ground, and whether the inspector signs off all have to be answered before the pump truck is booked. On a build in Alliston, where the permit goes through the Town of New Tecumseth, that means at layout, not on pour morning.
When SB-12 actually asks for below slab insulation
Start with what the code asks for, because it is less than people assume in one case and more in another.
Under the prescriptive packages in SB-12, Table 3.1.1.2.A for Zone 1, a slab that sits more than 600 mm below grade has no insulation requirement at all. It’s listed as not applicable in every package, A1 through A6. A normal full-depth basement floor falls in that row.
Two other rows do carry a number. A heated slab, or any slab within 600 mm of grade, needs R-10 nominal, which the table expresses as R-11.13 effective. The edge of a below-grade slab within 600 mm of grade needs R-10 as well. So the slab-on-grade addition, the walkout’s shallow end, and anything with tubing or cable in it are where the requirement bites.
The heated slab is not optional
“Heated” is the word that moves a deep basement slab from no requirement to R-10 under the whole floor. Radiant tubing in a basement that sits well below grade still puts the slab in the heated row, because the heat source is now in the concrete and the ground under it is the coldest thing it touches. Check the energy efficiency design summary on your drawings. If the mechanical designer added radiant after the energy package was chosen, the two may not agree, and it’s far cheaper to catch that at layout than at final.
What goes under the slab, in order
The layers are simple. The sequence is what goes wrong.
- Compacted granular base, graded flat. Board bridges low spots and rocks on high ones; foam follows the base but uses more material to fill a dip.
- Under-slab plumbing roughed in and tested, with every stub, cleanout and drain at final height.
- The radon or soil gas stub, if the design has one, placed before anything covers the base.
- The insulation layer, full area, tight to the walls and to every penetration.
- Polyethylene, on whichever side of the insulation your design calls for, laps taped and sealed at penetrations.
- Edge insulation at the perimeter, run to the top of the slab where the slab meets a foundation wall.
- Mesh, tubing and chairs, then the pour.
The edge detail gets its own treatment in our post on the frost wall and the slab edge. What matters here is that it is placed with the full-area layer, by the same trade, at the same visit. A perimeter strip added after the field is down tends not to be added at all.
Board or spray foam under the slab
Both work. The choice comes down to how chopped up the floor is.
Rigid board below the slab
Rigid polystyrene is the usual below slab insulation, and on a plain rectangular floor with a few drains it is hard to beat. Expanded polystyrene is sorted by type under CAN/ULC-S701.1, and the type is a minimum compressive strength: 70 kPa for Type 1, 110 kPa for Type 2, 140 kPa for Type 3. Check which type the drawings call for. A shop floor that will carry a loaded truck or a hoist is an engineering question, and the designer should name the type on the drawings rather than leave it to whatever the supplier has on the truck.
R-10 nominal is usually 2 inches of extruded board or a little more of expanded. Read the RSI printed on the sheet, not the thickness, because that’s what the inspector reads too.
Where board loses is at every cut. Each drain, each stub, each grade beam and each change in level is a joint someone has to fit and seal, and a gap at a joint is a straight line of concrete to the base.
Spray foam as below slab insulation
Closed-cell spray foam goes onto the prepared base as one continuous layer, with no joints, and it seals itself around every stub it meets. It is also insulation, air barrier and vapour retarder in one step, which is why it suits floors where the plumbing makes board slow to fit.
It’s what’s in the photo below: a basement floor we sprayed ahead of the pour, foamed right up to the board along the wall and the old slab beside it. On larger floors we spray the whole area to a continuous, even surface before the concrete goes in, and you can see a shop floor done that way on our work page.
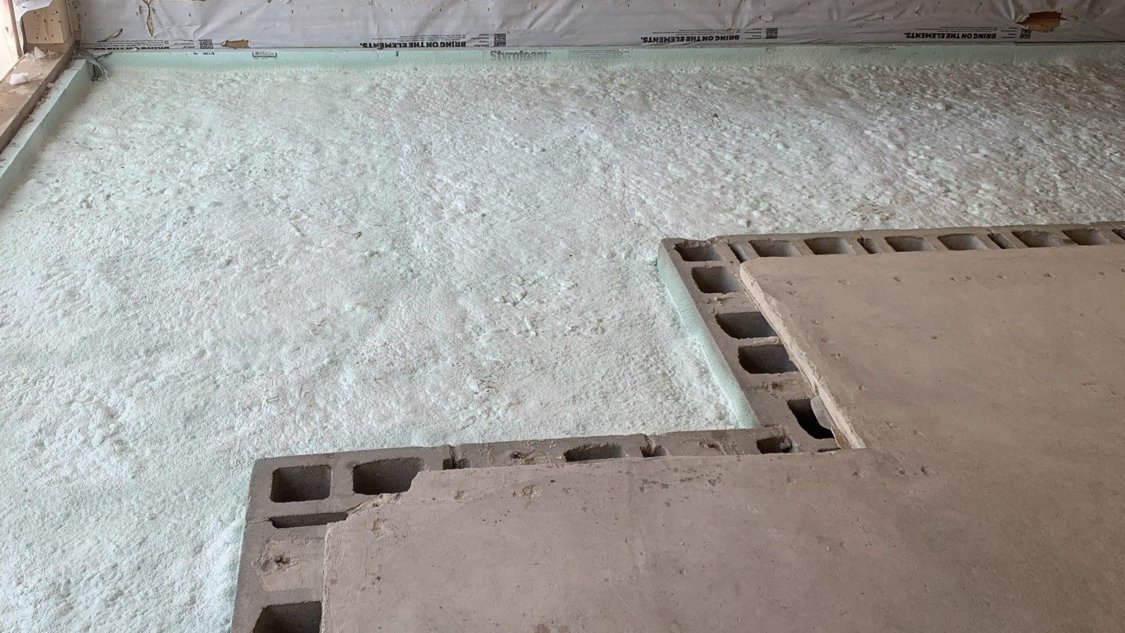
Compressive strength and R-value per inch for a sprayed floor come from the manufacturer’s current data sheet, the same as for board. Ask for it before the job, not after, if your designer needs it on file.
When the cheaper option is the right one
A deep basement slab with no heat in it has no SB-12 requirement for below slab insulation. If the owner wants a warmer floor, board is a fair way to get one, and it’s usually the cheaper way on an open floor. Plenty of builders place it with their own crew or have the concrete trade do it.
Spray foam earns its cost under a slab when the floor is heated and every gap is lost heat, when the plumbing layout means board would be cut into fifty pieces, or when the slab is going against an existing one in a renovation and the joint has to close up tight. If none of that applies to your floor, we’ll say so. The spray foam page says the same thing in writing: if a cheaper product will do the same job, we’ll tell you.
Below slab insulation checklist: ready before the crew arrives
Whether the layer is board or foam, the floor has to be ready for it. For a sprayed floor, this is what we need on the day.
- Base compacted, graded and dry, with no standing water and no frost in it.
- Every under-slab line roughed in, tested and at final height, because foam goes around a stub and doesn’t move with it.
- The radon or soil gas stub placed, if there is one, and capped so it isn’t filled.
- Forms and edge board set at the perimeter, so the field meets them.
- Floor drains and cleanouts capped or sleeved.
- The heated or not-heated question answered and matched to the package on the energy summary.
- Space cleared for the re-entry period we give you before we start.
What fails, and when you find out
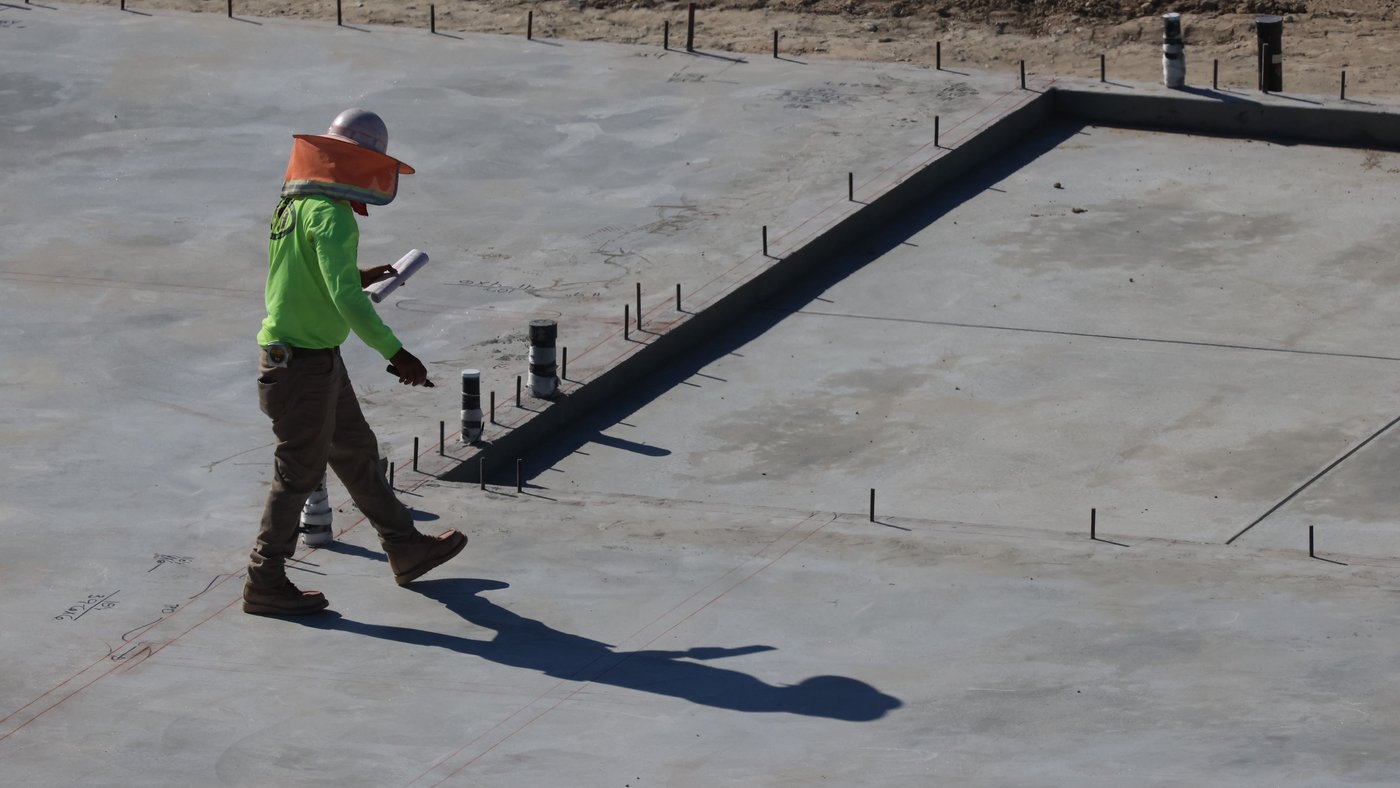
Most below slab insulation problems are not found at inspection. They’re found the first winter.
A radiant floor that takes hours to come up to temperature is losing heat to the ground, usually through a missing edge strip or a layer that’s thinner than the package. A cold strip along an exterior wall is the slab edge, bridged. A damp patch over a drain is usually a poly penetration that wasn’t sealed. None of these can be fixed from above without lifting the floor.
Two habits prevent most of it. Photograph the insulation layer, edge and penetrations before the mesh goes down, and keep the photos with the permit file; some inspectors will ask to see the layer and some won’t, but nobody can argue with a dated photo. And settle who places what. Under-slab board is often the concrete trade’s work; spray foam is ours. A floor where each trade assumed the other was doing the edge is a floor without an edge.
Where we fit
We spray basement floors and shop floors ahead of the pour, and we install batt and BIBS in the walls and ceilings above them, so one quote can cover foam where the floor needs it and something cheaper where it doesn’t. Spray foam is installed under CAN/ULC-S705 by certified applicators, and the space is left ready for the next trade. We work in Alliston and across Simcoe County from Barrie.
For the moisture rules that apply once framing meets the slab, see vapour barrier basement, and for the walls themselves, insulating basement walls.
Pouring a basement, an addition or a shop floor soon and want the layer under it settled before the truck is booked? Call (705) 812-1955 or request a free quote.