

Sauna Vapour Barrier
Foil on the hot side. Nothing behind it.
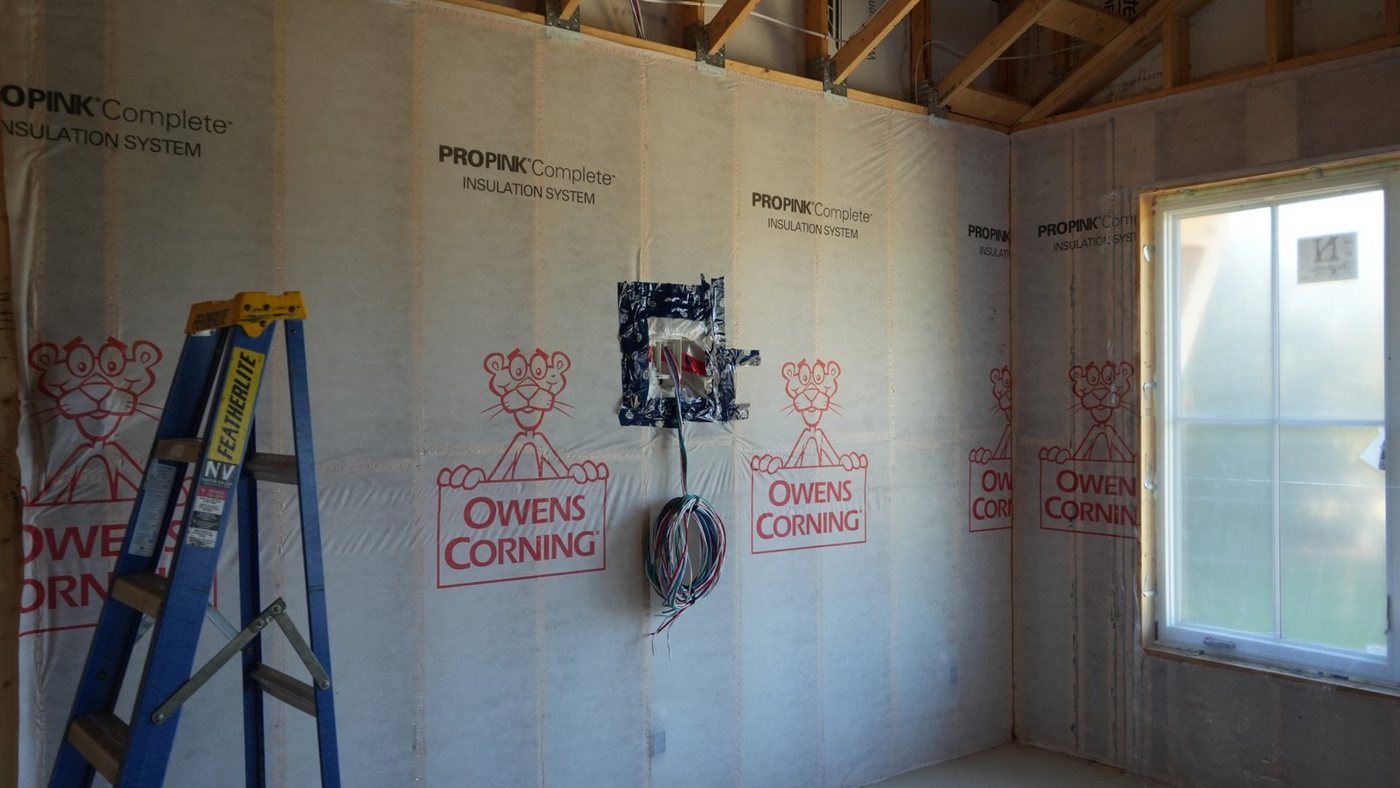
A sauna vapour barrier sits where the poly sits in any other Ontario wall, on the warm side of the insulation, but the warm side of a sauna runs hotter and wetter than anything else on the job.
Three things change because of that: the material, the gap in front of it, and how many vapour layers the wall is allowed to have. Get all three right and the cavity stays dry for the life of the room. Get one wrong and the cedar looks fine for years while the wool behind it doesn't.
Foil, not poly
The heater makers write the assembly into their manuals, and the sauna vapour barrier they ask for is foil. Harvia's installation manual for its Vega heater specifies aluminium paper with tightly taped edges, fitted so the glossy side faces the inside of the sauna. HUUM's guide to sauna wall structures builds with foil-faced insulation boards and says every board joint is to be sealed with foil tape to make a continuous vapour-tight layer.
Neither one lists polyethylene. The 6 mil poly you staple over every other wall in the house was chosen for a room at room temperature, and a sauna isn't one. Build to the manual for the heater going into that room: it is the document the heater's installation is checked against, and it is the one that names the layer.
Use foil tape on the seams, not the sheathing tape on the truck for the poly. The foil goes up as a membrane, so treat every lap and every staple line the way you would treat a poly lap at a top plate: sealed, or it is a hole.
Where the sauna vapour barrier goes, and the gap in front of it
The order through the wall, from the inside out: panelling, an air gap, foil, insulation, framing. The foil is the warm-side layer, exactly where the Ontario Building Code puts a vapour barrier in any heated wall.
The gap is the detail that gets skipped. Harvia's Vega manual recommends a 10 mm vent gap between the moisture protection and the panel boards. HUUM asks for at least 20 mm between the interior cladding and the vapour barrier, and says the foil should never touch the timber. Two makers, two numbers. Build to the one for the heater being installed, and if nobody knows which heater that is yet, that is the first question to answer.
In practice the gap is the strapping. Run it over the foil, fastened through to the studs, and nail the tongue-and-groove to the strapping. Panelling nailed straight through the foil onto the studs has no gap, punches a row of holes through the vapour layer, and leaves the back of the boards pressed against a surface that can't dry.
The ceiling and the corners are where a sauna vapour barrier leaks
HUUM names the junctions where problems most often start: floor to wall, wall to ceiling, and the wall the sauna shares with the washroom. The ceiling is the worst of them, because the hottest, wettest air in the room is pressed against it. Run the ceiling foil down onto the walls and tape the junction rather than butting two sheets at the corner.
Then the penetrations. The heater feed, the light, the control wiring and the vents all pass through the foil, and HUUM says ventilation openings and cable penetrations are to be completely sealed. A sauna has fewer boxes than a bathroom, so there is no excuse for missing one.
One sauna vapour barrier, not two
Most sauna failures in a wall come from a second vapour layer nobody meant to build. Insulation with a vapour-tight layer on both faces can't dry in either direction, and in a room that cycles between cold and full heat, whatever gets into that cavity stays there.
The usual ways it happens:
- Faced batts behind the foil. Kraft facing is a vapour retarder. Use unfaced batts, so the foil is the only layer on the warm side.
- Poly left in from an earlier finish. A sauna framed into a basement corner against a wall that already has poly on it now has poly and foil with wool between them. Take the poly out of that section and let the foil do the job.
- Closed-cell foam under the foil. At normal installed thicknesses, closed-cell spray foam is itself a vapour retarder. Foam plus foil is two layers.
The house wall the sauna is built against still has to work as a house wall. If the sauna is going against a foundation, the assembly behind it is a basement wall first; the basement walls post covers which ones pass and where moisture gets trapped.
The cottage sauna out back
Around Fenelon Falls and the rest of the Kawartha Lakes, a lot of saunas aren't rooms in a house at all. They are a small building at the water, heated hard for a few hours and then left to go cold for a week.
The warm side doesn't change: the sauna vapour barrier is foil on the inside, gapped and taped, same as an indoor room. What changes is the outside. With the vapour layer on the inside, the wall has to dry outward, so the exterior gets sheathing and a wrap and siding that let it. Don't foil the outside, and don't put foam board on it to "add R" without working out what that does to the drying direction. A wall with the vapour-tight layer on both sides is the same trap as above, built from the other direction.
If the heater is wood-fired, the chimney is one more penetration through the foil, and its clearances belong to the stove maker's manual and the chimney installer, not to the insulation crew. Make sure somebody owns the seal around it before the panelling goes on.
Fibreglass or mineral wool behind the foil
Harvia's Vega manual asks for at least 100 mm of carefully fitted insulating wool in the walls, and the same minimum between the ceiling joists. It doesn't name a type of wool. A 2x4 wall gives you an 89 mm cavity, which is under that number, so on a sauna built to that manual, frame 2x6 or plan the depth some other way before the insulation crew is booked. HUUM's foil-faced boards run 30 to 50 mm. The figures vary that much between makers, which is the other reason the heater has to be chosen first.
Behind the foil, unfaced fibreglass meets what the manual asks for. Mineral wool is the upgrade: it is the non-combustible option, and it absorbs sound better, which matters when the sauna shares a wall with a bedroom. Whether that is worth paying for depends on the job, and the mineral wool post goes through where it earns the upcharge and where fibreglass is fine.
One thing not to do near the heater: Harvia's manual warns that heat protection such as mineral board fitted directly on the wall or ceiling can make the temperature of the wall and ceiling materials rise dangerously high. Heater clearances and any guarding come from the heater manual, not from whatever is left over on site.
And spray foam, which is our most-requested service, is not what the heater makers ask for here. It is a vapour retarder in its own right, so it fights the foil instead of backing it up, and wool is the cheaper material anyway. This is a room where the cheaper assembly is also the correct one.
What has to be ready before the insulation goes in
A sauna is a small room with a lot of decisions stacked into the framing. Every one of these is cheaper before the wool and foil than after.
- The heater chosen. Its manual sets the wall and ceiling insulation depth, the gap, the clearances and the vents. Everything else on this list waits on it.
- The ceiling framed at height. Harvia's Vega manual says no higher than 2300 mm, and no lower than 1900 mm if you are dropping an existing ceiling. Frame the drop before the insulation, not after.
- Blocking in. Benches, backrests, the heater mount and the heater guard all need something solid behind them. Add it before the foil, so nobody is cutting through the vapour layer to find a stud.
- The heater circuit roughed in. That is a licensed electrician's job, and in Ontario it goes through the Electrical Safety Authority. Wire and boxes in place before insulation, so the penetrations exist when the foil goes up and can be sealed then.
- Vent openings framed where the heater manual puts them.
- One trade owning the foil. Decide whether the insulation crew or the sauna builder hangs and tapes the sauna vapour barrier. When each assumes the other did the corners, nobody did.
Where we fit
We install fibreglass and mineral wool batts friction-fit and uncompressed, with the vapour barrier detailed and sealed as the assembly requires, and we'll price either wool and tell you honestly where mineral wool is worth paying for and where it isn't. Rooms full of heat and moisture aren't new to us: we have insulated pools, hot tubs and a boat house. We work across the Kawartha Lakes, Fenelon Falls included, and we would rather look at the room and the heater spec than quote you a number from a brochure. See batt insulation for how a batt job runs, and vapour barrier vs air barrier for who owns which layer on the rest of the house.
Framing a sauna and want the wall behind the cedar done once? Call (705) 812-1955 or request a free quote.