

What Is Thermal Bridging
Wood carries heat past the insulation.
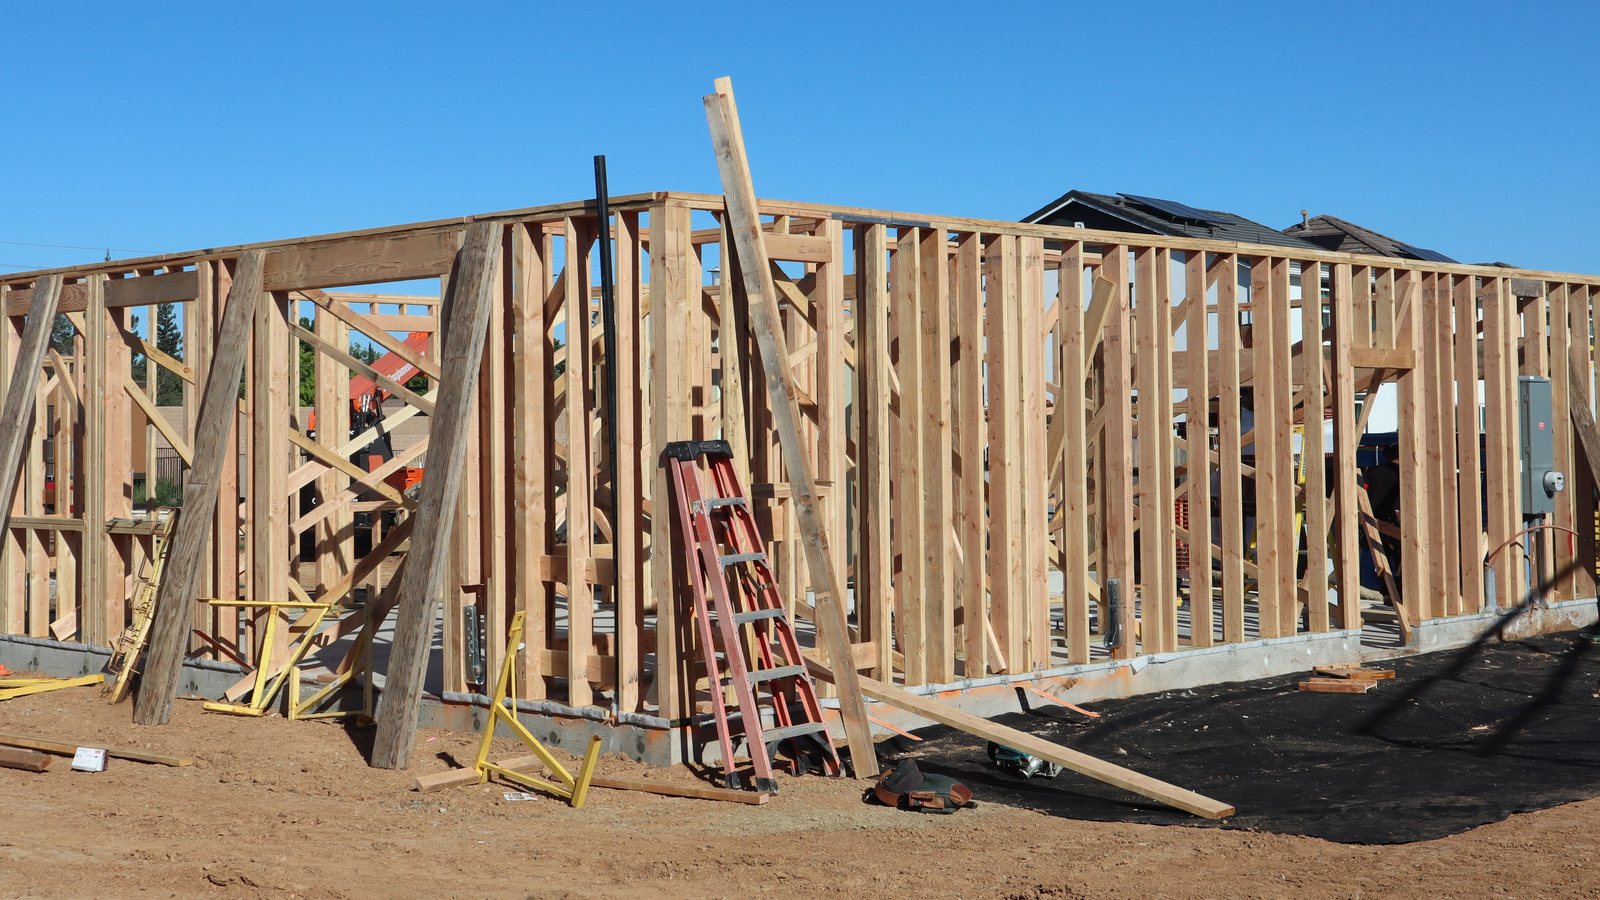
What is thermal bridging on a framed house? It's heat taking the easy way out: through the studs, plates, headers and rim joist, around the insulation instead of through it. Softwood framing is roughly R-1.25 an inch, and the batt beside it is close to three times that, so every piece of solid wood that crosses the wall is a strip of the wall insulated to a fraction of its label.
None of that is news to anyone who frames. What is worth working through is the arithmetic, because it decides where extra R in the cavity stops paying, where continuous insulation earns its money, and which bridges are decided at framing, long before an insulation crew sees the job.
What is thermal bridging on a framed wall?
A thermal bridge is any part of the assembly that conducts heat across the insulation layer much faster than the insulation does. On a Part 9 wood-frame house the list is longer than the studs:
- Repeating bridges. Studs at 16 or 24 inches on centre, and the joists and rafters in floors and roofs. They run the full depth of the cavity, every bay.
- Linear bridges. Bottom plate, double top plate, built-up headers, the rim joist band, the top of a foundation wall above grade, slab edges, window frames set outside the insulation line.
- Point bridges. Steel lintels, brackets and ledger bolts, and the screws that fasten furring through exterior foam. Individually small.
The studs you draw are not the studs you build. Add the jacks and kings at every opening, three-stud corners, partition backers, blocking and the plates, and solid wood takes a real share of the wall. ASHRAE's framing-fraction figures for a 16-inch-on-centre wall sit at roughly 25 percent of the area, and a wall full of windows runs higher.
Our own FAQ puts the consequence plainly: the number on the package is the material's rating in a lab, not the wall's rating in your house. Studs conduct heat around the insulation, and every gap, compression and missed corner drops the assembly below its label.
The arithmetic: nominal R against effective R
The useful answer to what is thermal bridging is a number, and for a framed wall it's worked out with the parallel-path method in the ASHRAE Handbook of Fundamentals. Heat takes two routes through the wall at once, one through the framing and one through the cavity, and each route is weighted by its share of the area. The low-R route dominates because heat flow adds up as conductance (1/R), not as R.
What is thermal bridging costing a 2x6 wall?
Take the stud-and-cavity layer of a 2x6 wall at 25 percent framing. A 5.5-inch stud at R-1.25 an inch is about R-6.9. Here is what different cavity fills come to across the whole layer:
- R-20 batt: about R-13.5 effective.
- R-22 batt: about R-14.2.
- BIBS blown-in at R-24: about R-14.8.
- Closed-cell foam, full 5.5 inches at roughly R-6 an inch (R-33): about R-16.9.
Sheathing, drywall, cladding and the air films add a little to both paths, so a finished wall comes out slightly higher than these numbers. These figures compare cavity fills; they aren't the rating of any particular house. The shape of the result doesn't change, though. Raising the cavity from R-20 to R-33, a 65 percent increase on the label, moves the layer by about R-3.4, because a quarter of the wall is still R-6.9 wood whatever goes in the bays.
Put R-5 of continuous insulation on the outside of the same wall and the whole R-5 counts. It sits in series with both paths and covers the studs as well as the bays. The R-value explained post covers nominal against effective R from the homeowner's side.
Where more cavity R stops paying
This is where the arithmetic should change what you spec, and where we'd rather say so than sell the most expensive product in the truck.
In a standard 2x6 wall with clean, dry, open framing, a well-fitted batt or BIBS in the bays and sealed poly on the warm side is a code wall that works. Filling the same bays with closed-cell foam buys you a few points of effective R and costs considerably more. Batt is the lowest cost per square foot of anything we install, and BIBS packs a 2x6 cavity to R-24 with no voids. If a cheaper product will do the same job in your house, we will tell you; our service pages say exactly that, and we would rather have the referral than the upsell.
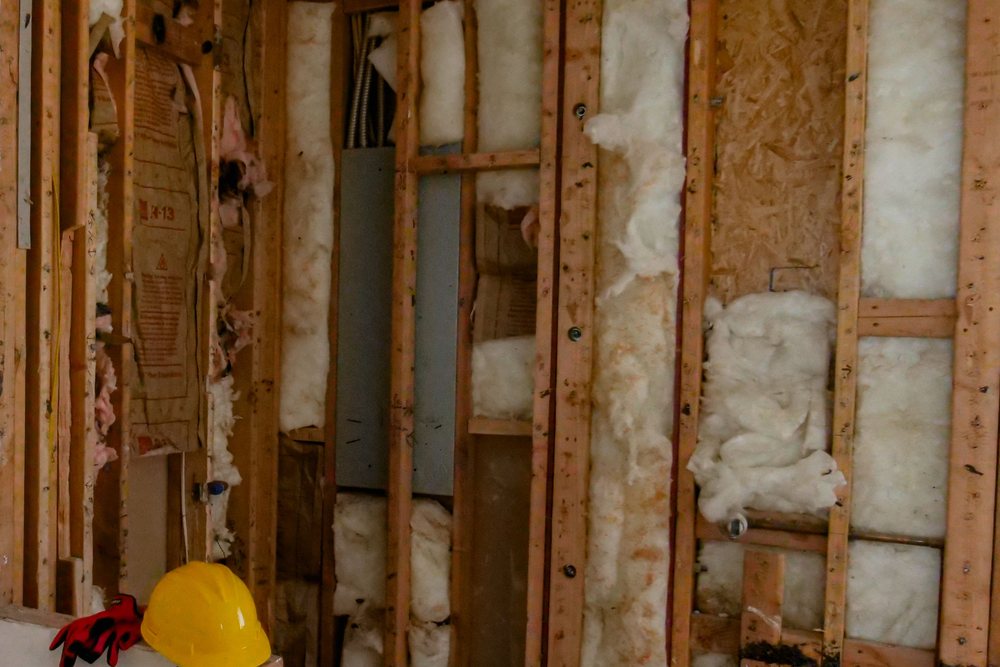
The fill has to be installed properly for any of those numbers to hold. Our batt page makes the point that a nominal R-22 wall can perform closer to a fraction of it when the batts are compressed behind wiring or don't fill the cavity. A poorly fitted batt loses more than the difference between batt and foam ever gains.
Closed-cell foam earns its place for other reasons: it seals as it insulates, and at roughly R-6 an inch it gets to code in a shallow cavity where nothing else fits. That's why it goes in cathedral ceilings, rim joists, header spaces and cantilevers. It doesn't go there to beat the studs, because in the cavity it can't. On a batt job, our batt page describes the usual split: we foam the rim joists and problem areas and batt the rest.
Steel framing: what is thermal bridging when the stud is steel?
On wood the bridge costs you a few points of R. On steel it costs you most of the cavity. Steel conducts heat hundreds of times faster than wood, and ASHRAE 90.1's own tables credit an R-19 batt in 6-inch steel studs at 16 inches on centre with only about R-7 effective. No cavity fill fixes that. On a steel-stud wall, continuous insulation outboard of the studs is the answer, and the cavity fill is the smaller decision.
The same thinking applies to steel-clad shops and post-frame buildings, where the girts and purlins run across everything. Our FAQ describes shops, barns and pole buildings as places where continuous foam coverage over irregular framing is often what makes a space practical to heat. The garage and shop insulation post goes through it.
The bridges decided at framing, not at insulation
Most of the thermal bridging in a house is built in by the framer, and once the sheathing is on there's no insulation product that undoes it. These are the details to settle on the drawings:
- Headers. A built-up header over every opening is solid wood straight through the wall. Where the span and the designer allow, an insulated header (plies with rigid foam between them, or a single ply to the outside with the space behind insulated) cuts the bridge. Whether that's allowed is the designer's call, and it has to be framed that way. It can't be added later.
- Corners and partition intersections. A three-stud corner or a channel at a T-wall leaves a closed pocket that stays empty unless someone fills it before the sheathing goes on. Two-stud corners and ladder blocking at partitions leave fewer studs and an open bay the crew can reach.
- The eave. With a standard truss heel, attic insulation is thinnest exactly where it meets the top plate. A raised heel lets the full depth run out over the wall, with attic insulation baffles keeping the soffit venting open.
- The rim joist. A band of solid wood plus the sill, and our spray foam page calls it one of the biggest single air leaks in a Canadian house, and one of the easiest to fix permanently. It's a bridge and an air leak at once, which is why it's where foam belongs. Rim joist air leaks covers the detail.
- The top of the foundation. Concrete above grade conducts heat around interior basement insulation. How far the wall insulation runs and how it meets the rim is a detail worth drawing; see insulating basement walls.
Continuous insulation: the real answer to what is thermal bridging
Continuous insulation (ci) outboard of the sheathing interrupts every repeating bridge at once: studs, plates, headers and rim. That's why the Ontario compliance packages in Supplementary Standard SB-12, which is how Part 9 houses in Ontario show energy compliance, include wall options that pair cavity insulation with a layer of ci rather than relying on the cavity alone.
It changes the rest of the wall, though. Low-perm board outboard means the wall no longer dries outward through the sheathing, so the ratio of outboard to inboard R and the interior vapour control have to be designed together. The fasteners through the foam are point bridges, small next to the studs they've covered. Exterior insulation goes through the vapour side, polyiso foam board covers the most common board, and housewrap covers where the drainage plane goes once the foam is on.
A window in a ci wall has its own decision: the frame should sit in line with the insulation layer, or the frame itself becomes the bridge around every opening. Settle that with the window bucks, before the windows are ordered.
What has to be ready before the insulation crew arrives
By the time we're on site, the thermal bridging in a wall is mostly fixed in place. What the crew can do is insulate what they can reach, seal what leaks, and flag what they can't fix. Have these done:
- Headers built as drawn, insulated where the drawing calls for it.
- Corners and T-wall pockets either open to the inside or insulated before sheathing.
- Trusses on with the heel height designed, and a baffle plan for the eaves.
- Rim joist bays reachable, not boxed in behind ductwork or plumbing runs.
- Exterior ci installed and fastened, window bucks done, cladding scheduled.
- Cavities dry and the building closed in.
Our FAQ's line on new construction is the whole argument for doing this early: the envelope decisions that matter most are cheapest to get right before the drywall goes on. Send the wall section with your quote request and we'll price the right product in each part of the building. Our batt insulation and blown-in insulation pages cover the bays, and our spray foam insulation page covers the rim joists, headers and cantilevers where foam pays.