

Housewrap
It keeps out rain, not air.
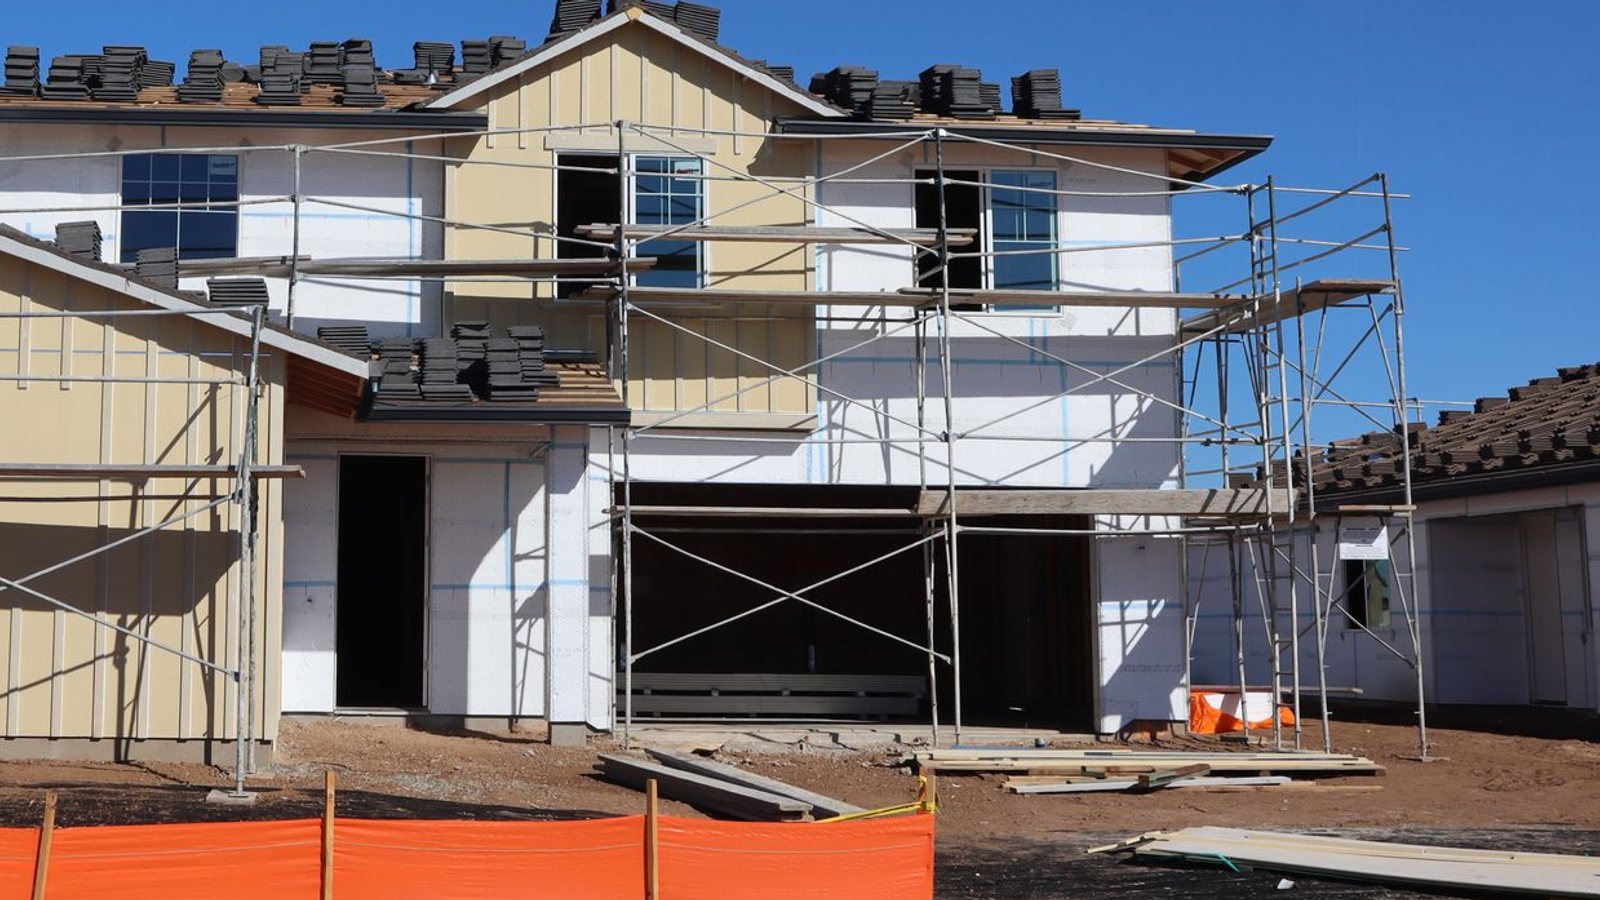
Housewrap is the sheathing membrane the Ontario Building Code puts behind the cladding, and its job is to shed the water that gets past the siding. It is not automatically the air barrier, and most of the trouble with it on site comes from treating it as one without detailing it as one. On a Wasaga Beach lot facing open water off Nottawasaga Bay, the wind tests both jobs every autumn.
This is the builder's version: what the code actually asks of the wrap, when it can carry the air barrier, how the window laps go, and what has to be finished on the outside before an insulation crew should be inside.
What the code asks of housewrap
Subsection 9.27.3 of the Ontario Building Code requires at least one layer of sheathing membrane beneath the cladding, and the membrane has to meet CAN/CGSB-51.32-M, the standard for breather-type sheathing membranes. Housewrap is the common way to meet it. The rules on the wall are simple and get skipped anyway:
- Lap it like shingles. Upper sheets over lower sheets, with horizontal joints lapped at least 100 mm. Water has to run from one sheet onto the face of the next, never behind it.
- Breather, on purpose. The wrap is vapour-permeable so the wall can dry outward. That's why it goes outside the sheathing and the poly goes inside, and why the two aren't interchangeable.
- Flashing goes behind it at the top. Where flashing is installed over an opening, the code wants it to run up at least 50 mm behind the sheathing membrane, so water on the flashing has nowhere to go but out.
None of that makes the wrap airtight. A housewrap stapled to the sheathing with unsealed laps sheds water and lets air through at every seam, which is exactly what a breather membrane under 9.27.3 is allowed to do.
Why housewrap isn't your air barrier by default
The air barrier is a different requirement, under Subsection 9.25.3, and it has to be continuous: across the wall field, at the bottom plate and the top of the wall, around every window and door, and at every penetration. On a typical Part 9 house the drawings make that the interior polyethylene, sealed at its laps and to the framing, or the sheathing itself with its joints sealed. The vapour barrier vs air barrier post goes through which layer can do which job.
Housewrap can be the air barrier. It just has to be built as one, and the drawing has to say so. If nobody has decided which layer it is, the house usually ends up with three partial air barriers and no continuous one.
When housewrap is drawn as the air barrier
- The product has to be rated for it. Check the manufacturer's literature for its air-barrier listing and the tape and fasteners it calls for. Not every wrap on the shelf has one.
- Every lap and seam is taped with the maker's tape, not left as a shingle lap only.
- The edges are sealed: to the foundation or sill at the bottom, to the top plate or the ceiling air barrier at the top, and into every rough opening.
- Penetrations get boots or tape: dryer vents, hose bibs, electrical, gas, every bracket that goes through.
- Cap fasteners, not bare staples. A staple through unreinforced wrap is a hole that grows every time the wind moves the sheet.
Do all of that and the housewrap is a legitimate exterior air barrier. Skip any of it and it's a rain screen with good intentions. The rigid air barrier post covers the other exterior option, sealed sheathing, and where its joints and edges fail.
Windows: where housewrap fails first
Most water that gets into a wrapped wall gets in at an opening, and almost always because the laps run the wrong way. The order matters more than the products.
- Sill first. Sill flashing or a formed sill pan goes in before the window, lapped over the housewrap below it so anything that reaches the sill drains out onto the face of the wrap.
- Window in, jambs next. Jamb flashing laps over the sill flashing, and the wrap at the jambs is folded into the opening or taped to the flange as the manufacturer details it.
- Head last. Cut a flap in the housewrap above the opening, tuck the head flashing under it, then let the flap down over the flange and tape the diagonal cuts. Wrap over flashing, never flashing over wrap.
A window taped in perfectly on all four sides, with the head tape running over the wrap instead of under it, is a gutter that empties into the sheathing.
The inside of the same opening is a separate job. The gap between the window frame and the rough framing is an air leak no matter what the housewrap is doing outside. Our spray foam page lists doors and windows among the places we seal: the rough openings, where framing meets frame. The gap wants a low-expansion foam, which won't bow the frame; the low expansion spray foam post covers it.

Housewrap on a lake-exposed wall in Wasaga Beach
A wall facing the bay takes more wind-driven rain and more wind load on the wrap itself than the same wall on a sheltered street in Barrie. Three things change on that elevation.
- Fastening. Wind lifts the sheet between fasteners and works it back and forth. Use the cap fasteners and the spacing the manufacturer specifies, and tighter where it calls for it. Torn wrap at the fasteners on an exposed wall is common, and nobody sees it once the siding is up.
- Exposure time. Housewrap is rated for a limited number of days of sun before cladding. On a slow job, check the maker's figure. A wrap that sat through a summer may have lost the properties it was bought for.
- A drainage gap behind the cladding lets water that gets past the siding run down and out instead of sitting against the housewrap. On a windward wall it's worth more than a premium wrap with no gap.
Housewrap, foam board and the drying direction
Housewrap's permeance is the reason a standard wall dries to the outside. Put foam board over the sheathing and the wall stops drying outward through it, and the wrap's position becomes a drawing decision: over the sheathing and under the foam, or over the foam as the drainage plane. Either can work, and the code's ratio of outboard to inboard insulation then governs the cavity and the interior vapour control. That's set out properly in exterior insulation. Where the wall can't dry outward at all, smart vapour barrier explains when the interior membrane has to change too.
What the insulation crew needs from the housewrap
Insulation goes into a closed-in building. That means roof on, housewrap on and lapped, windows in and flashed, and the cavities dry. A wet stud wall closed in with batt and sealed poly holds that water between two layers, and spray foam goes on a dry substrate or it doesn't bond the way it should.
- Wrap complete on every elevation, including the gable ends and behind any porch roof, before the cavities are filled.
- Windows and doors installed and flashed. An open rough opening with a tarp over it lets weather into the wall the crew is about to close.
- Sheathing and studs dry. If the frame stood open through rain, give it time.
- Penetrations through the housewrap done: vents, hose bibs, service entries. Every hole punched after insulation is a hole in a finished air barrier on one side or the other.
- The air-barrier layer named on the drawing, so the poly crew, the wrap crew and the spray crew aren't each assuming it's someone else's.
Our FAQ puts it plainly: the envelope decisions that matter most are cheapest to get right before the drywall goes on. That's why it's worth involving us early on new construction.
Where plain wrap and a batt wall are the right answer
A standard 2x6 wall with wood sheathing, housewrap lapped properly, vented siding, batt or BIBS in the bays and sealed poly inside is a code wall that works. It doesn't need spray foam in every bay to make up for anything. The housewrap handles the rain, the poly and its sealed laps handle air and vapour, and the cavity gets the cheapest R there is. Batt is the lowest cost per square foot of anything we install, and BIBS fills a 2x6 cavity to R-24.
We'd tell you that on a quote. Our service pages say it outright: if a cheaper product will do the same job in your house, we will tell you, and we would rather have the referral than the upsell.
Foam earns its place where no wrap helps. The rim joist, which our spray foam page calls one of the biggest single air leaks in a Canadian house, and one of the easiest to fix permanently. Header spaces. Cantilevers and bonus rooms over garages. On a batt job, the split our batt page describes is the usual one: we foam the rim joists and problem areas and batt the rest. Our closed-cell foam is applied under CAN/ULC-S705.2 by certified applicators, and we confirm the work is inspection-ready before we leave. The rim joist air leaks post shows why the rim is the place to spend it.
Before the crew arrives
- Housewrap lapped upper over lower, laps at least 100 mm, cap-fastened to the maker's spacing.
- Window and door flashing in the right order, head flap down over the flashing, cuts taped.
- One layer named as the air barrier, and its transitions at the plates, openings and rim in somebody's scope.
- Cladding on, or at least scheduled inside the wrap's exposure limit.
- Cavities dry, building closed in.
Send the wall section with your quote request and we'll price the right product in each part of the building, including the parts where batt does the job for less. Our spray foam insulation page shows where we apply foam, and our batt insulation page covers the rest of the wall.